

Using Shopify? You don’t need to sign up here—installing the Fanfare app from Shopify creates your organization automatically. Follow Your first drop on Shopify instead.
Before you start
- Have a work email address or Google account ready.
- Make sure you’re creating a new organization. If a teammate already invited you to theirs, open the link in your invitation email instead—each Fanfare account belongs to one organization. See Team members.
Step 1: Create your account
- Go to admin.fanfare.io and select Create an account.
- Sign up with either option:
- Google: Select Sign up with Google and approve access to go straight to organization setup.
- Email: Enter your First name, Last name, Work email, and a Password (at least 8 characters), then select Create account.
- If you signed up with email, enter the 6-digit verification code sent to your inbox. Once verified, you’ll be signed in and taken to organization setup.
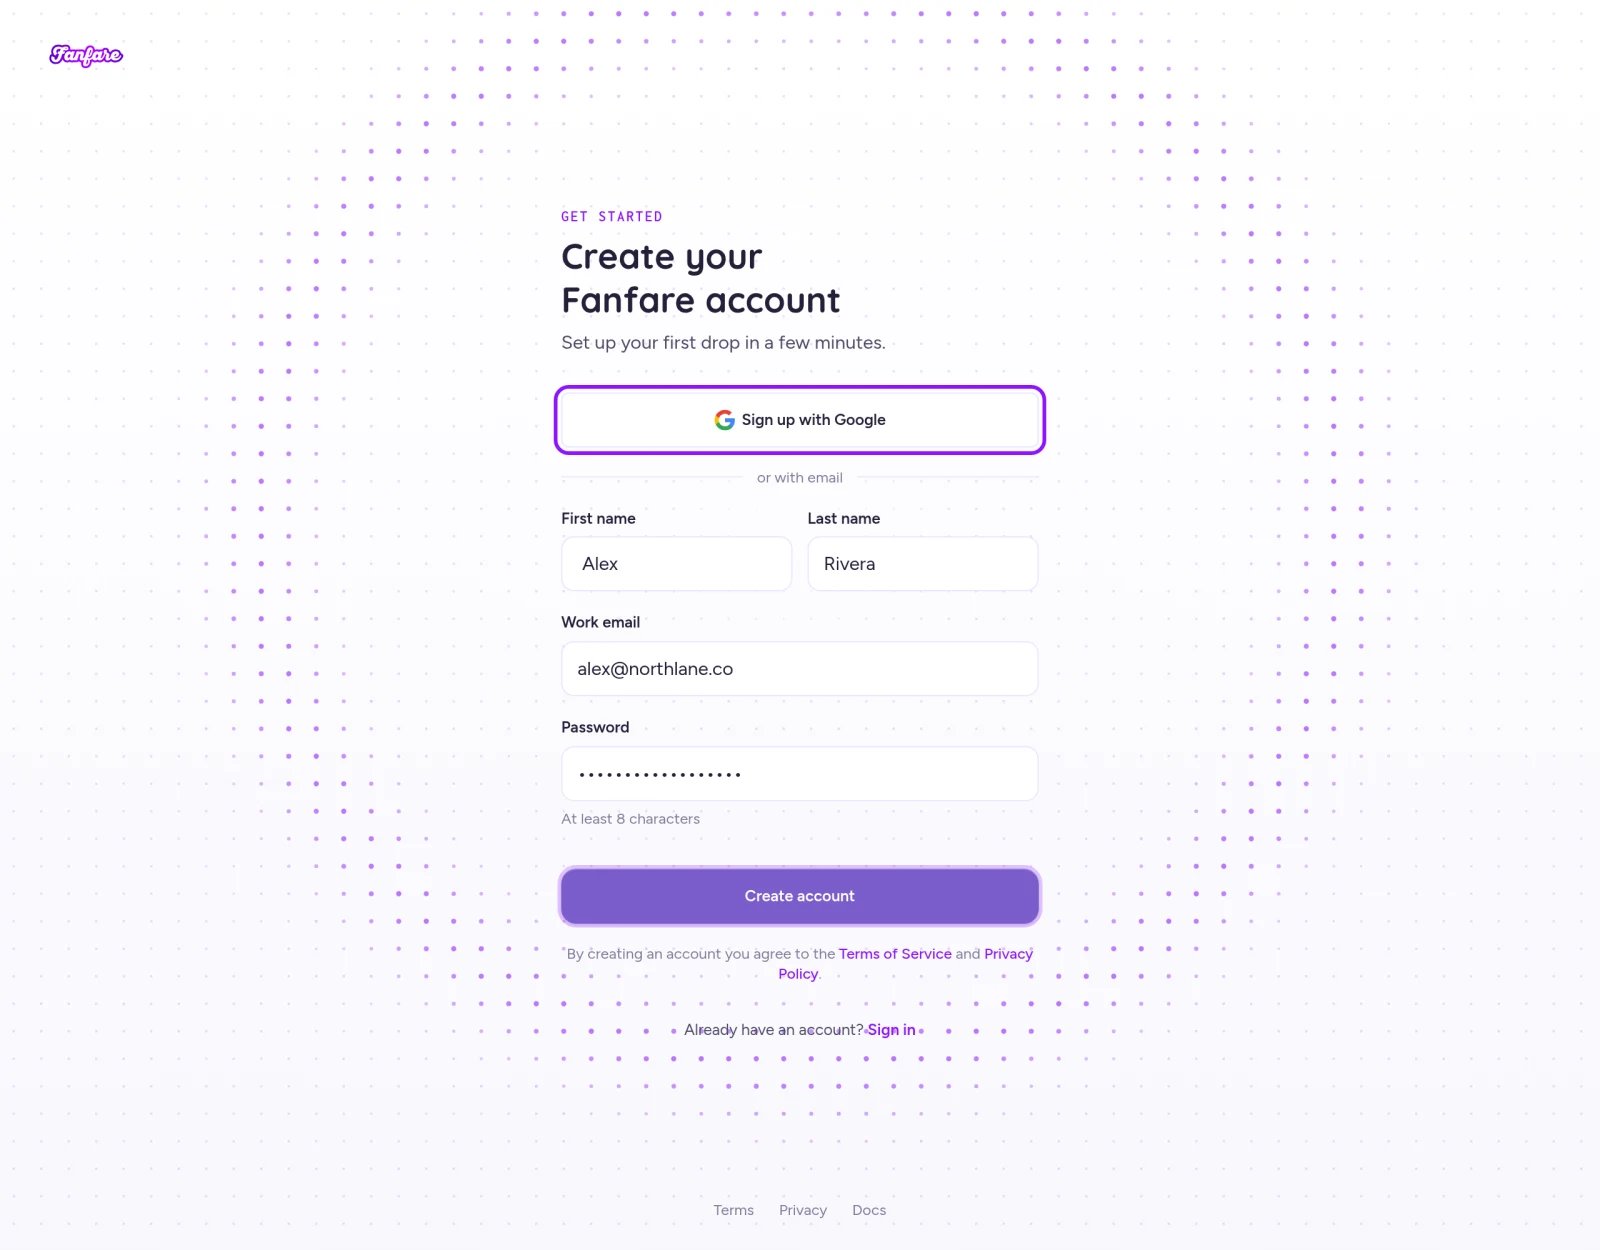
Sign up with Google or with your work email and a password.
If self-serve sign-up is temporarily closed, you’ll see Join the Fanfare waitlist instead. Enter your work email and Fanfare will email you as soon as your invite is ready.
Step 2: Set up your organization
Your organization is your workspace in Fanfare—it holds your team, products, brand, and drops. Setup takes three quick steps:Name your organization
- Enter your Organization name.
- Review your Subdomain and edit it to whatever fits your brand best. The line below previews your customer-facing addresses. The subdomain fills in from your organization name the first time only, so recheck it if you rename your organization.
- Wait for the green checkmark confirming your subdomain is available—or pick one of the suggestions if it’s already taken—then select Continue.
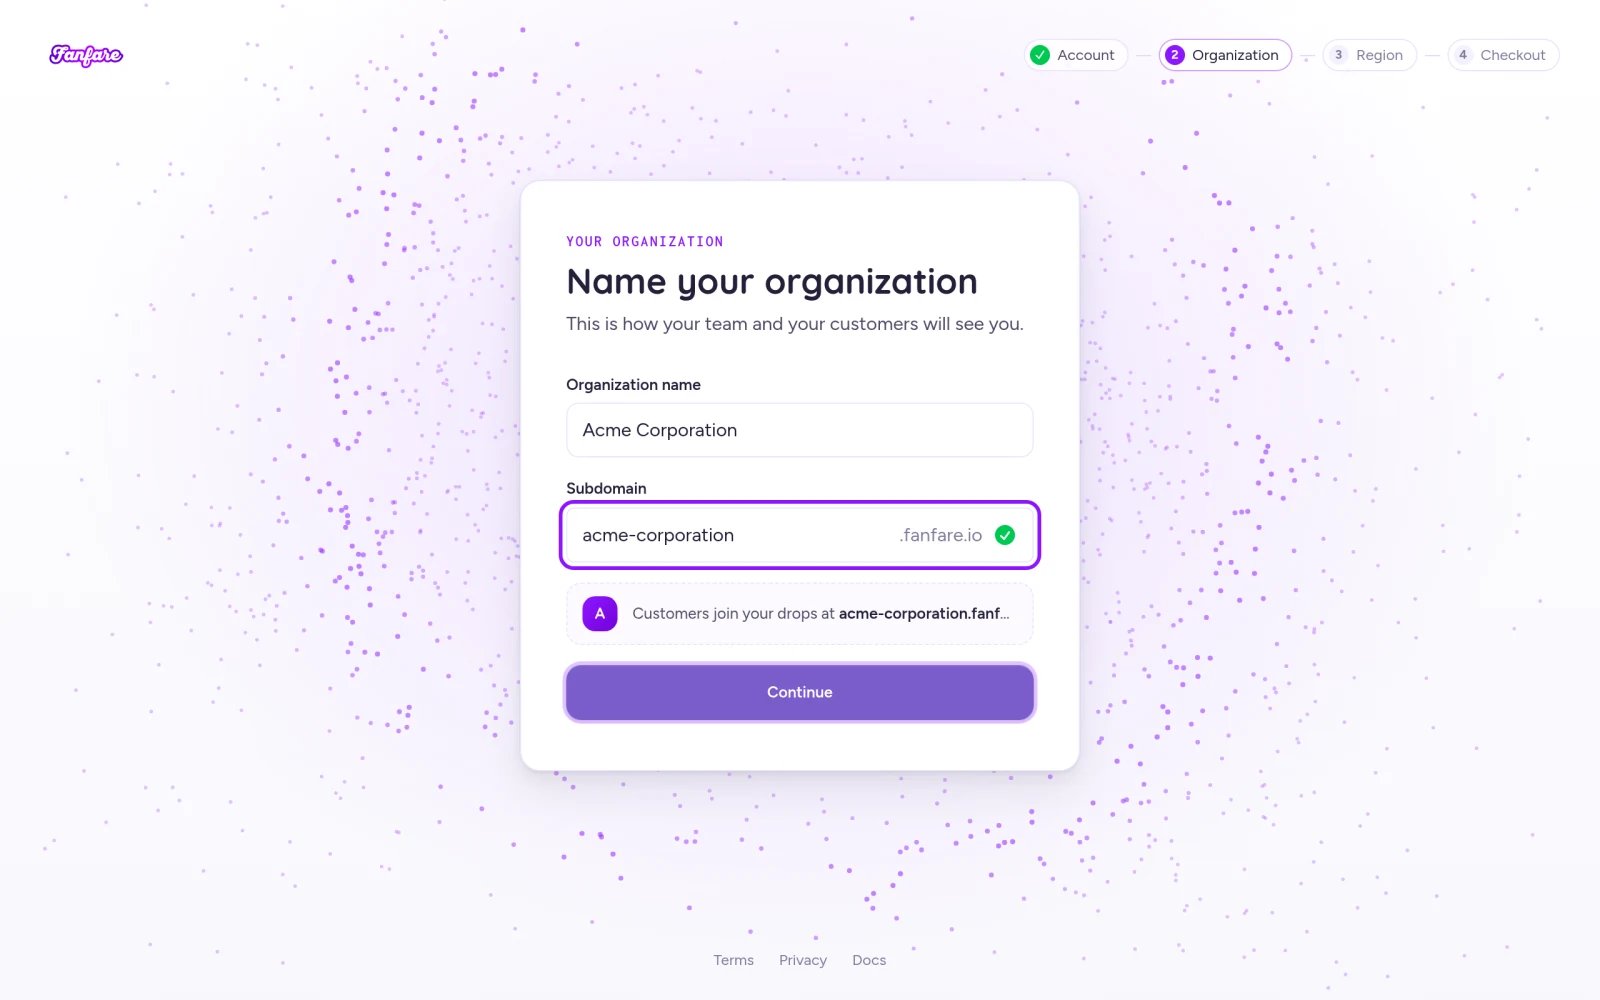
Wait for the green checkmark beside your subdomain before continuing.
Confirm your region
Fanfare prefills your Country, Currency, and Time Zone from your browser. These set your default currency and the starting time zone for new experiences. Select Change on any row to adjust it, then select Continue.Choose how you’ll sell
Select who handles checkout and payments for your drops:- Fanfare checkout: Customers pay directly through Fanfare using your connected Stripe account. Available for US organizations selling in USD.
- External checkout: Customers complete payment in your own store’s checkout.
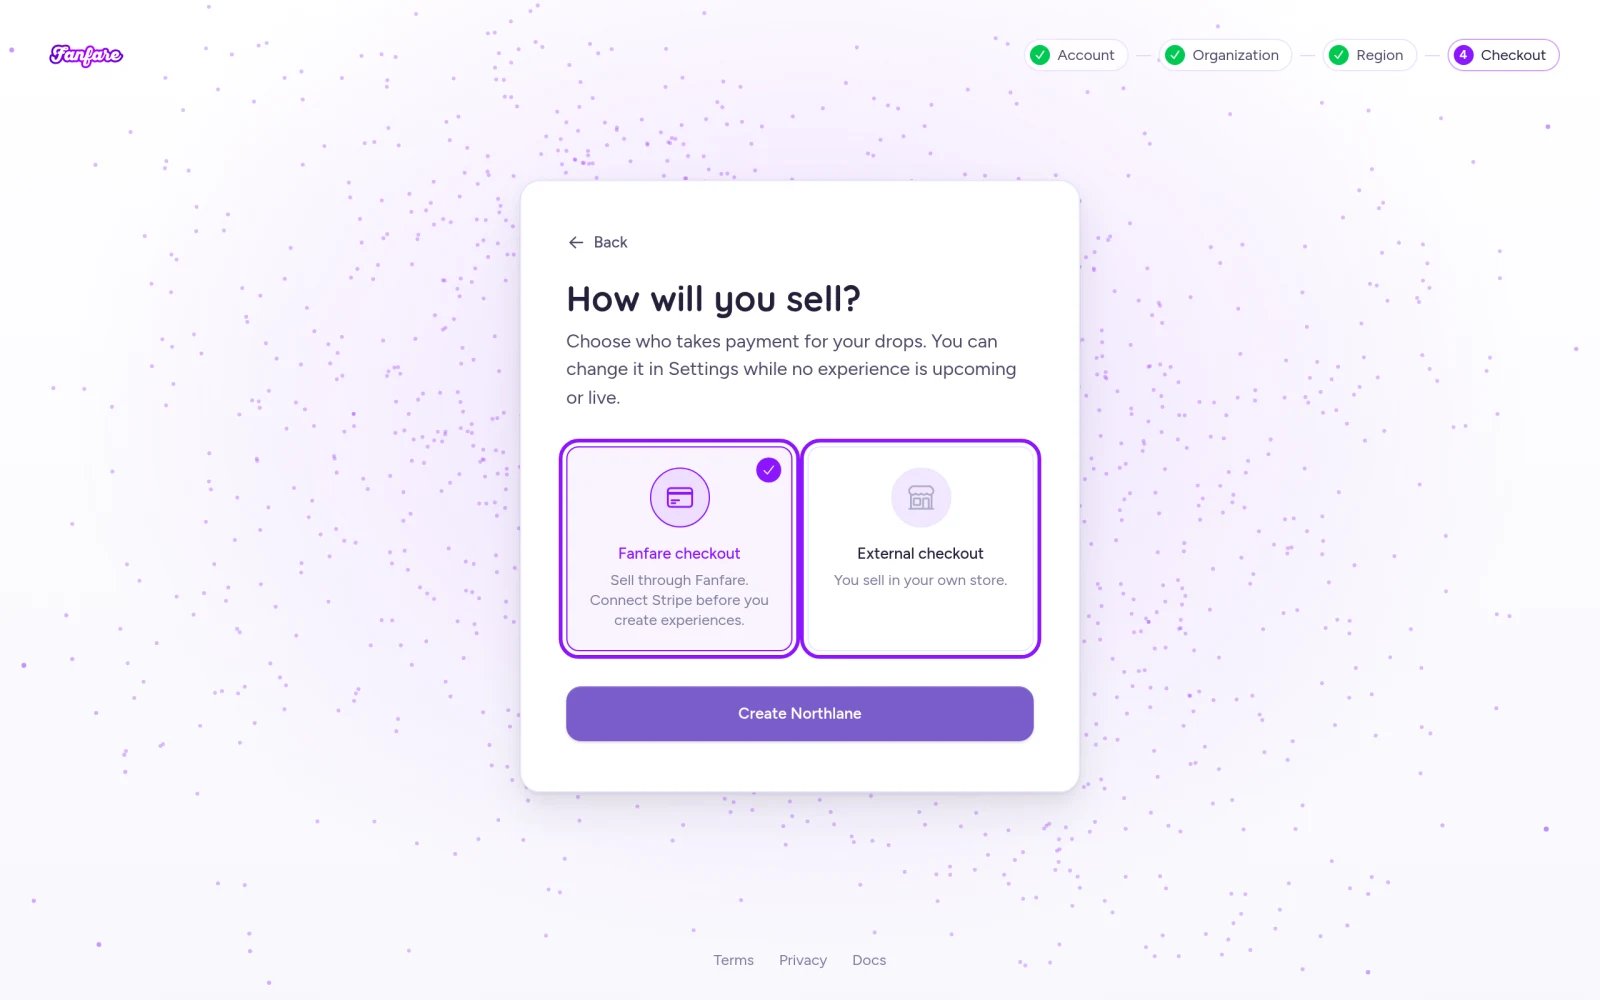
Choose Fanfare checkout to sell via Stripe, or External checkout to use your own store's checkout.
Finish setup
Select Create [your organization name] to create your workspace and open Home.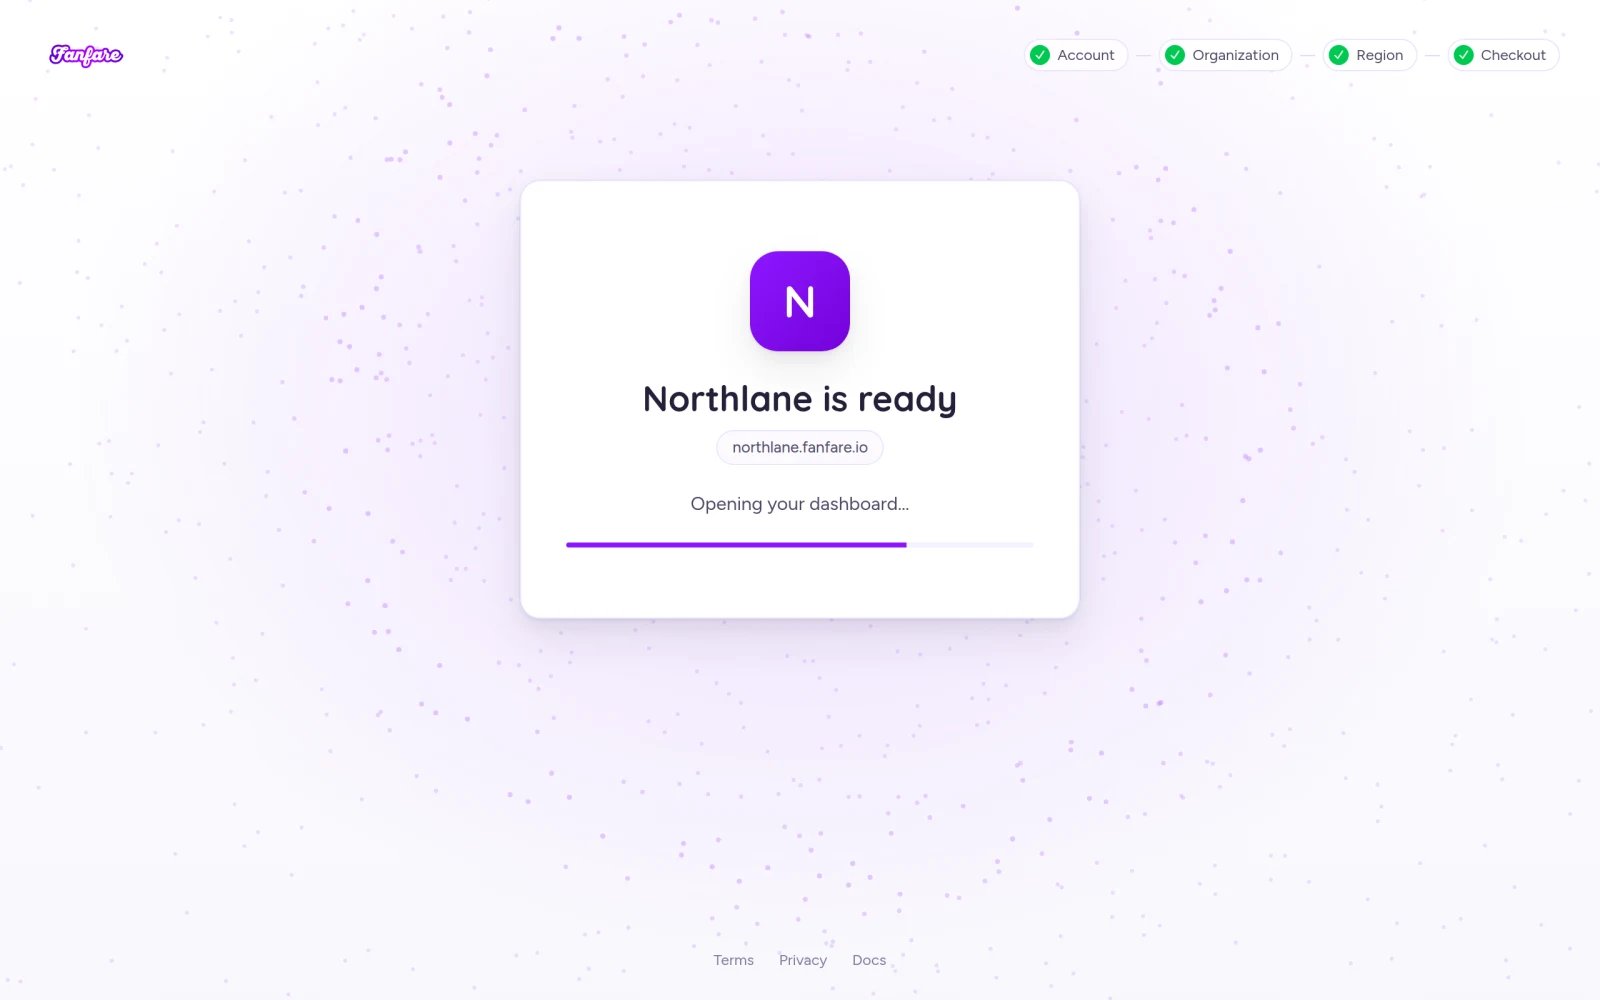
What you start with
- A 5-day free trial of Growth (no credit card required). If you don’t add a card before the trial ends, your organization automatically moves to the free Starter plan. See Billing and usage.
- Admin permissions for your organization.
- Quick Actions on Home and an optional walkthrough tour to help you get oriented. See A tour of the admin.
Step 3: Build and launch your first drop
With your organization ready, work through these steps in order to take your first drop live:1
Connect Stripe (Fanfare checkout only)
If you chose Fanfare checkout, go to Settings → Payments and connect your Stripe account before creating an experience. See Payments and fees.
2
Add your email sender address
Go to Settings → Email Sender and save a business postal address. Fanfare requires a postal address before you can schedule email announcements or send audience invites. See Sender identity and sending domain.
3
Add a product
Open Products and select Create Product (or use Create Product in Quick Actions on Home). Before saving, choose your Stock management option carefully—it can’t be changed after a product is created. See Manage stock and Add products.
4
Create your experience
Open Experiences and select Create Experience. Pick a drop type—a queue is the simplest place to start—then select your product, enter an Experience Name, and set your Time Zone, Opens At, and Closes At times. Auction requires a checkout that can charge the winning bid, and Appointment requires Growth or above.Work through the remaining wizard steps and select Create experience. See Create an experience for details on every type, including draws, auctions, timed releases, and appointments.
Opens At defaults to the next minute, and there is no separate publish step—queues, draws, auctions, and timed releases open automatically at their scheduled time. Set Opens At before finishing so your drop doesn’t go live immediately. Appointments accept bookings as soon as your page is live, regardless of First bookable slot.
5
Stage your drop
Customize your brand colors and fonts in Design Studio (Set your brand), then decide where customers will enter:
- Hosted page (Growth and above, included in your trial): Build and publish a page directly in Fanfare, then share the URL from Live at. Hosted pages work with Fanfare checkout—if you use External checkout, embed the widget on your own site instead so customers can complete checkout. See Build and publish the hosted page.
- Your own site: Share your embed credentials with your developer to add the Fanfare widget. See Run it on your own site.
6
Build hype
- Waitlists: Every sequence (except appointment-only ones) automatically includes a waitlist where customers can sign up before the drop opens. See Waitlists.
- Announcements: Schedule email or social announcements to let customers know when doors open. See Announcements.
- Audience invites: If you gated a sequence to a specific audience, Fanfare invites eligible members automatically (on by default). See Invites, waitlist and access-code sends.
7
Run a pre-launch check
Preview the customer flow in What your customers see and walk through the final checklist in Before doors open.
8
Monitor and manage the live drop
Once doors open, follow traffic and sales in real time with Watch a live drop. If you need to pause a queue or adjust settings mid-drop, see Change things mid-drop. To end a drop early, see Stop a drop (note that Deactivate cannot be undone).
9
Review results and orders
After sellout, analyze drop performance in Read your results and manage orders or refunds in Orders and refunds.
On Shopify
If you use Shopify, skip account setup here and follow Your first drop on Shopify—installing the Fanfare app creates your organization automatically.Troubleshooting
Selecting Create shows 'Internal server error'
Selecting Create shows 'Internal server error'
Your organization may still have been created. Because each account can create only one organization, avoid retrying from scratch—contact Fanfare support at [email protected] for help getting in.
Fanfare checkout is disabled during setup
Fanfare checkout is disabled during setup
Fanfare checkout currently supports US organizations selling in US dollars. Go back to Region to check your country and currency, or select External checkout to sell through your own store. See Checkout options.
My preferred subdomain isn't available
My preferred subdomain isn't available
Another organization may already be using it, or it may be reserved by Fanfare. Pick one of the suggested alternatives or try another name that fits your brand. If a subdomain-taken error appears on the final step, use the back arrow twice to return to Name your organization and pick another subdomain.
I see 'Join the Fanfare waitlist' instead of the sign-up form
I see 'Join the Fanfare waitlist' instead of the sign-up form
Self-serve sign-up is currently paused. Enter your work email to join the waitlist, and Fanfare will email you when your invitation is ready.
Related
A tour of the admin
Find your way around Home, the sidebar, and settings.
The model in one page
How experiences, sequences, and distributions fit together.
Create an experience
A full walkthrough of the Create Experience wizard.
Plans and what they unlock
Compare features, monthly pricing, and per-order fees.