

Before you start
- Have your products ready in Fanfare. See Add products.
- Decide your opening time, closing time, and time zone.
- If you’re adding to an existing experience, know which sequence the timed release belongs to.
Create an experience with a timed release
Shared wizard steps and schedule defaults are covered in Create an experience. A timed release skips configuration and payment steps—it flows straight through Experience type → Configure Experience → Stock → Access → Review & launch.1
Choose Timed Release
Open Experiences, select Create Experience, and pick Timed Release.
2
Set products, dates, and stock
On Configure Experience, pick your products, name the experience, and set your time zone, opening time, and closing time. Then set your units on Stock (see Allocate stock to a drop).
3
Choose who can enter
On Access, choose one of three options:
- Anyone, after signing in (default): Shoppers sign in with a one-time email code.
- Anyone, as a guest: No sign-in required—anyone with the link can enter.
- Only members of an audience: Pick an audience card (or select Choose another audience). Shoppers sign in and Fanfare verifies their membership.
4
Review and create
Check each row on Review & launch (select Edit to adjust any step), then select Create experience.
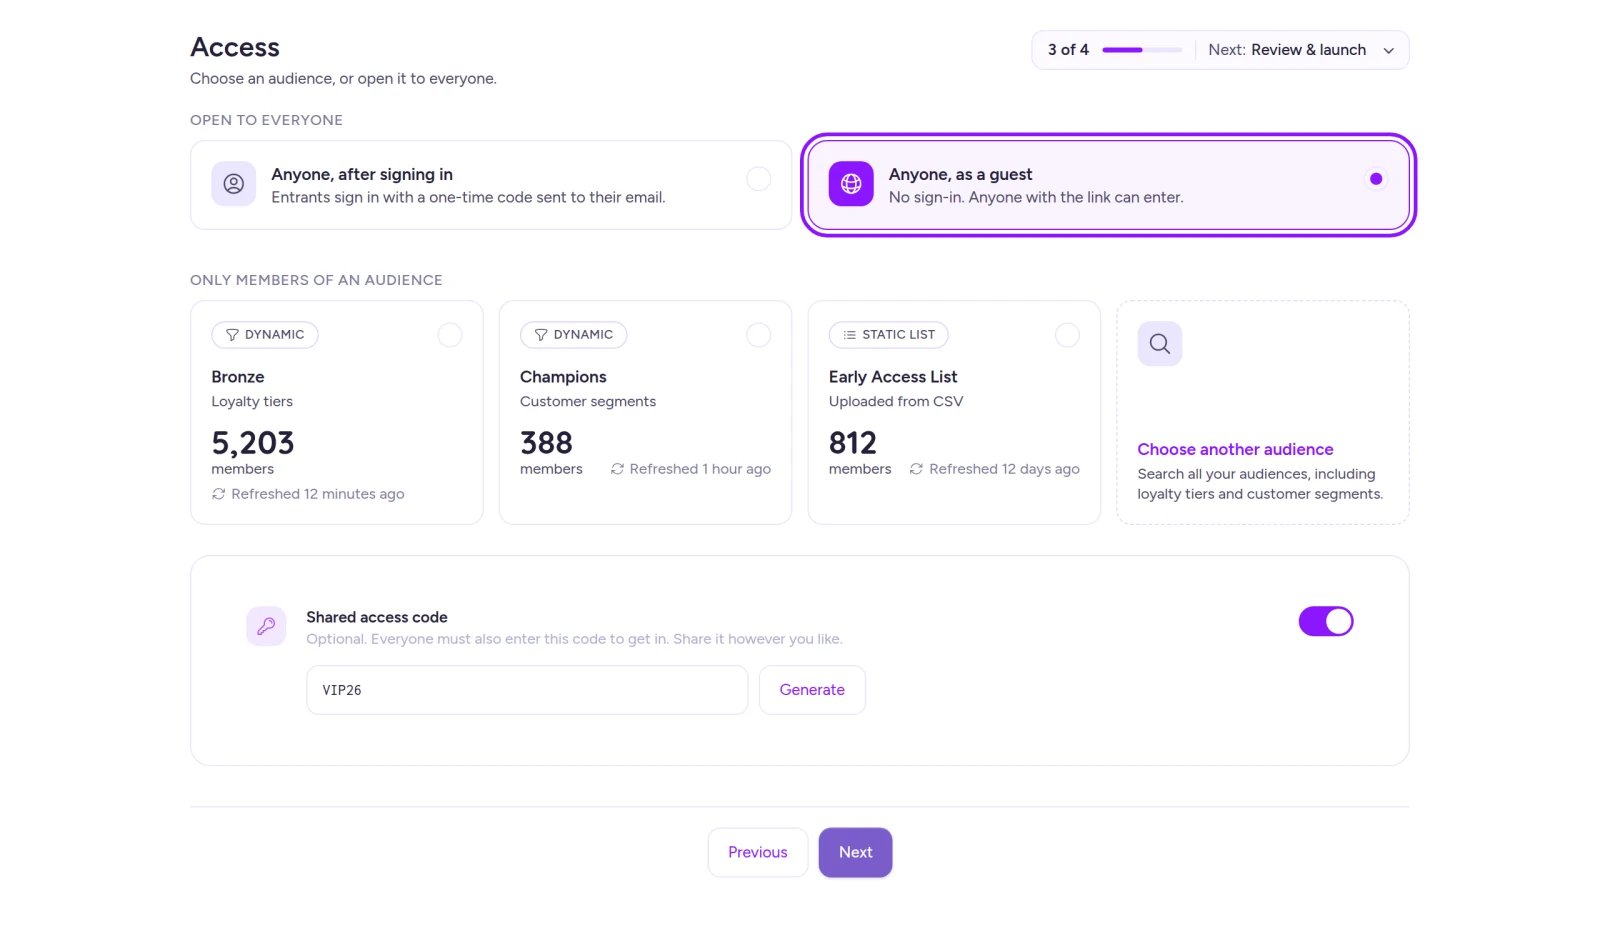
In the wizard, guest access for a timed release is set on the Access step.
Add a timed release to a sequence
Use this to add another drop window to an existing experience—for example, a public release following an early-access window in the same sequence.- Open your experience, then open the sequence you want to add to.
- On the Distributions card, select Add distribution.
- Enter a Name, select Timed Release, and click Next.
- On Schedule, set Opens, Closes, and Time zone. Fanfare checks for overlaps against other distributions in the same sequence.
- On Configure, turn on Allow guest access or Automatic entry if needed (both default to off).
- Check Review and select Create Distribution.

Scheduled timed releases appear on the sequence's Distributions card with their opening time.
Settings
Automatic entry is skipped for shoppers while a sequence tracks a size that can sell out, or while shoppers must pick a product or size on entry—they’ll click to enter themselves instead, though Fanfare preserves your toggle setting.
- Locking: Times save to the whole minute. Aside from Opens (which can only move earlier once live), nothing locks when a timed release opens. Once it closes, Opens and Closes lock permanently—create a new timed release for another window.
- Audience gating: Audience-gated sequences require sign-in, so adding an audience to a sequence later automatically turns Allow guest access off. See Sequences and routing.
- No Mystery Box: Timed releases can’t share a sequence whose Product Selection is set to Mystery Box—Fanfare blocks combining them in either order.
Edit a timed release
Select Edit on the timed release in your sequence’s Distributions card to update Schedule (name, Opens, Closes, Time Zone) or Configuration (Allow guest access, Automatic entry). See Change things mid-drop for how live updates reach shoppers. To end a timed release early, use Deactivate. Deactivation can’t be undone, and the timed release’s original schedule still blocks overlapping distributions in that sequence until you delete it. See Stop a drop.Common patterns
On Shopify
Before you’ve created your first experience, the Experiences page in the Shopify app offers Create Timed Release as a quick start (the standalone Fanfare admin shows Create Appointment instead). Make sure checkout protection is enabled on your store so shoppers can’t buy protected products outside your timed release. See Storefront setup.Troubleshooting
Schedule conflict
Schedule conflict
Your window overlaps another distribution in the same sequence. Adjust Opens or Closes so they don’t overlap (back-to-back windows are fine), or add the timed release to a separate sequence to run them concurrently.
This time has passed. Choose a time from now on.
This time has passed. Choose a time from now on.
The opening time is too far in the past. When creating a timed release, Fanfare allows an opening time up to 5 minutes ago—pick a current or future time instead.
Related
Timed release
How a timed release behaves and what shoppers see.
Create an experience
Walk through the experience wizard, shared settings, and time zones.
Add and gate sequences
Configure audiences, access codes, and order limits on a sequence.
Stop a drop
Deactivate a timed release, sequence, or experience.